
Create is a tool included in the M365 service that brings artificial intelligence to assist with planning and creating graphic content. With the Create tool, you can create and edit images, infographics, posters and other graphic materials. This tip introduces the basics of using the Create tool.
What do I need?
Create can be found in the M365 service. The direct link is https://m365.cloud.microsoft/create. All members of the Tampere Universities have access to the Copilot Chat AI service, which also underpins the Create tool. The version of Create presented in this tip is available to staff and students.
How do I need to do?
1. Go to the M365 service homepage and make sure you are signed in (green shield icon in the top right corner).
2. Select Create (Luo) from the left side of the window.
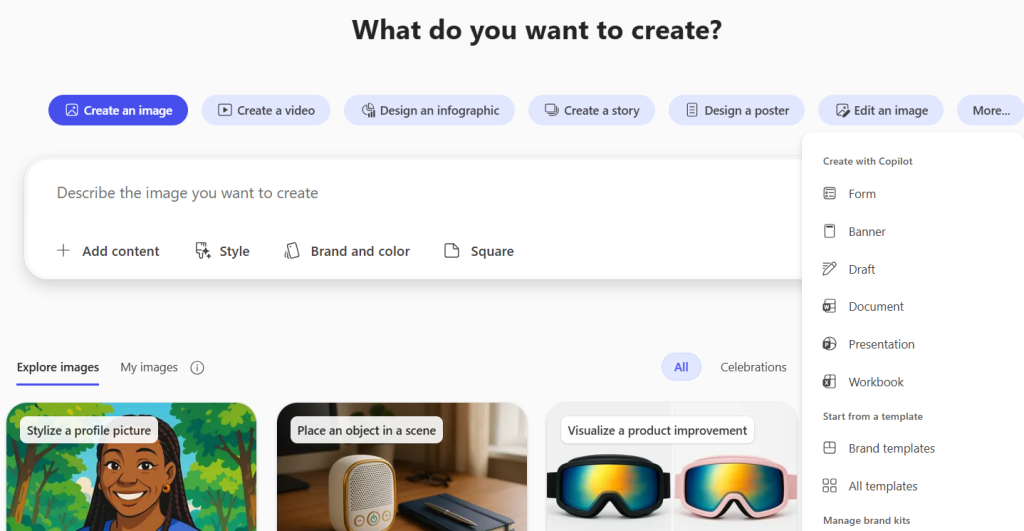
3. Choose what you want to create – an image, poster, or something else.
4. Write a description of what you want to create, or select a template.
5. You can choose to create an image, infographic or poster, and the More menu offers many other options as well.
Creating images, posters and infographics
Click the Create an image, Design an infographic, or Design a poster button depending on the type of image you want to create. In the text field below, describe what the poster or image should contain. You can give a very precise description for the image content or ask for a more general idea, for example as an illustration. In the menus below, you can also choose the image’s style, size and colour theme. Click Create to generate the image.
Once the image or poster has been created, tools for editing will appear on the right side of the page. You can request changes to the created image or adjust its colour scheme and style. If the image contains text, there is a section at the bottom called “Edit the text” where you can request text modifications. This is a useful feature, especially for posters or infographics with a lot of text.
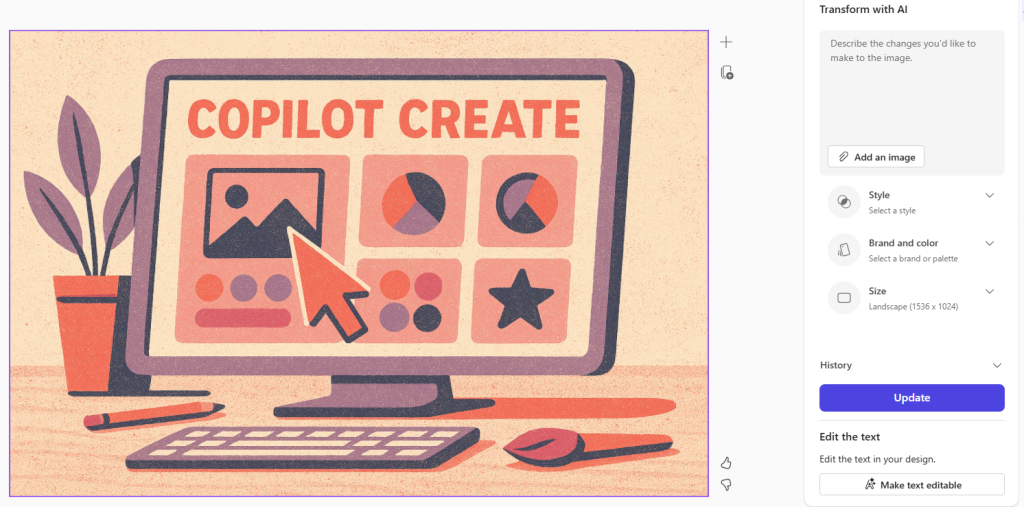
For posters or infographics, you can also specify exactly which texts should be used in the image.
Story
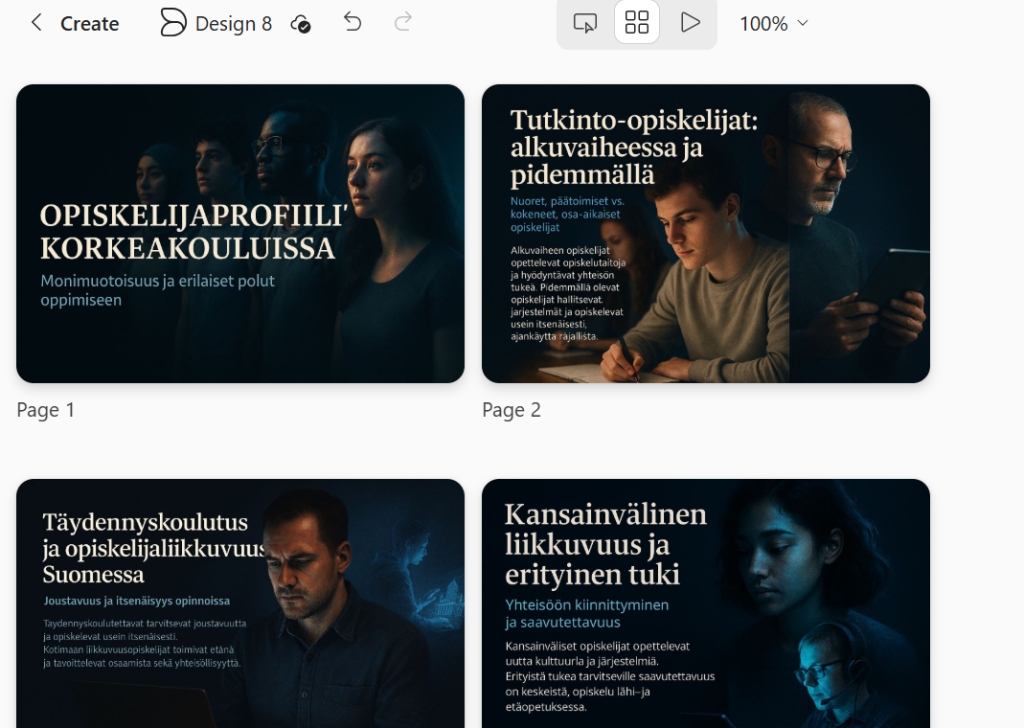
With the Story tool, you can create an illustrated presentation on any topic you choose. You can give detailed instructions for creating the presentation and also provide the material to be used as a basis for it. Choose your preferred style for the presentation from numerous options.
The presentation is created in story format, and you can edit each slide as you wish using the buttons at the top.
When you are satisfied with the result, you can change its name by clicking the default name at the top, and download it to your computer in your chosen format from the Download section.
Editing an image
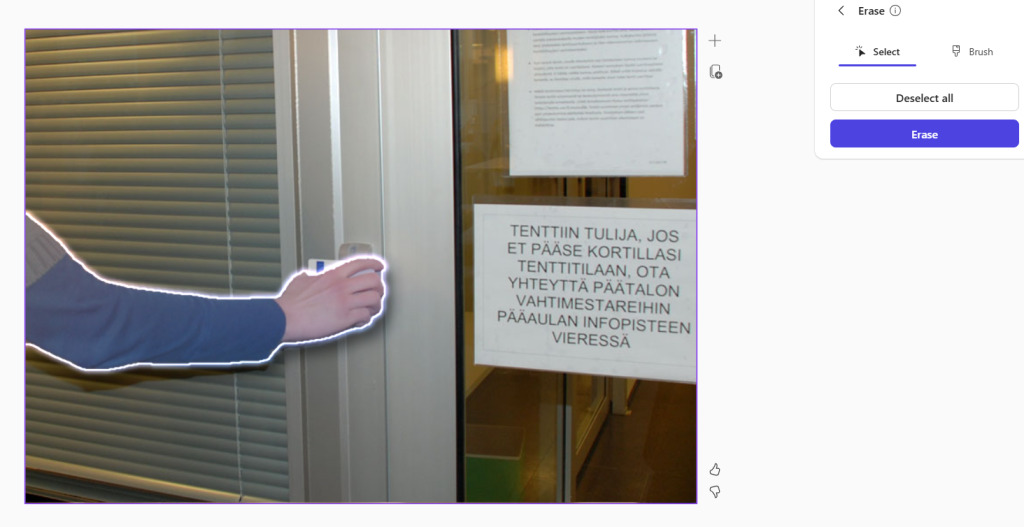
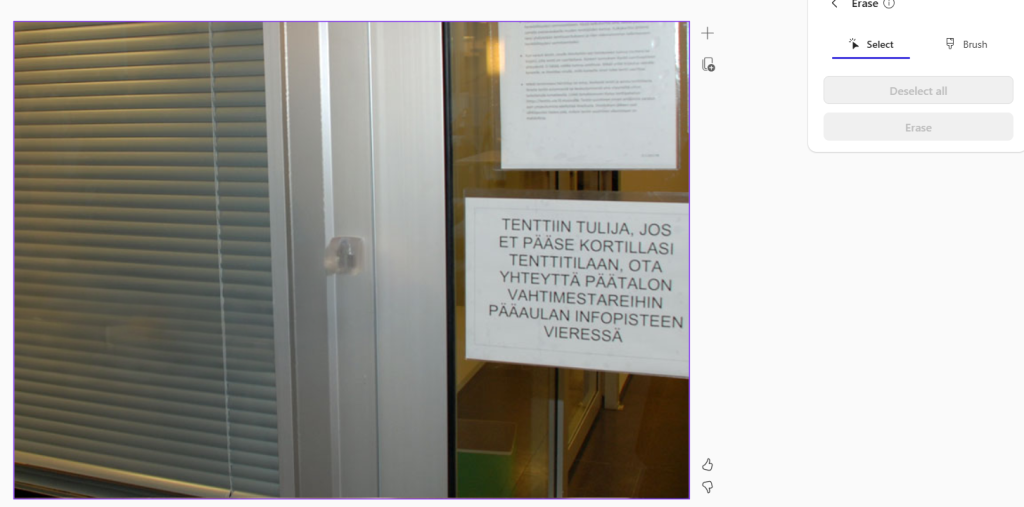
The Create tool can also be used to edit your own photos. Choose Edit picture from the More menu. Add the image you want to edit to the Add image section.

A menu will appear on the right side of the uploaded image, allowing you to select how you want to edit it. You can, for example, remove objects from the image, edit the background, use different filters, and so on. In the example below, a hand has been removed from the image and the AI adjusts the background to fit the rest of the picture.
Creating videos
You can use the Create tool to make a video either from scratch or based on your own material. If you start from scratch (Create a video from scratch), you can write in the text field what kind of video you want. If you choose, for example, a PowerPoint presentation as the basis, the video will be created using the texts and images from that presentation.
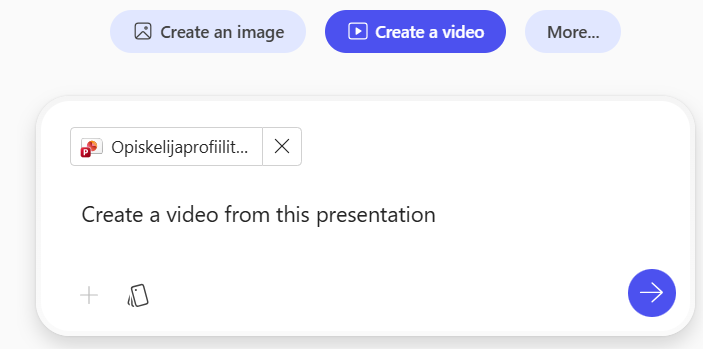
If you want to use your existing material as the basis for a video, select it and specify in the field what kind of video you want to create from it.
When the video is created, you can edit it as you wish. A window opens on the right side of the page where you can see the transcript, i.e. the text used in the video, and edit it.
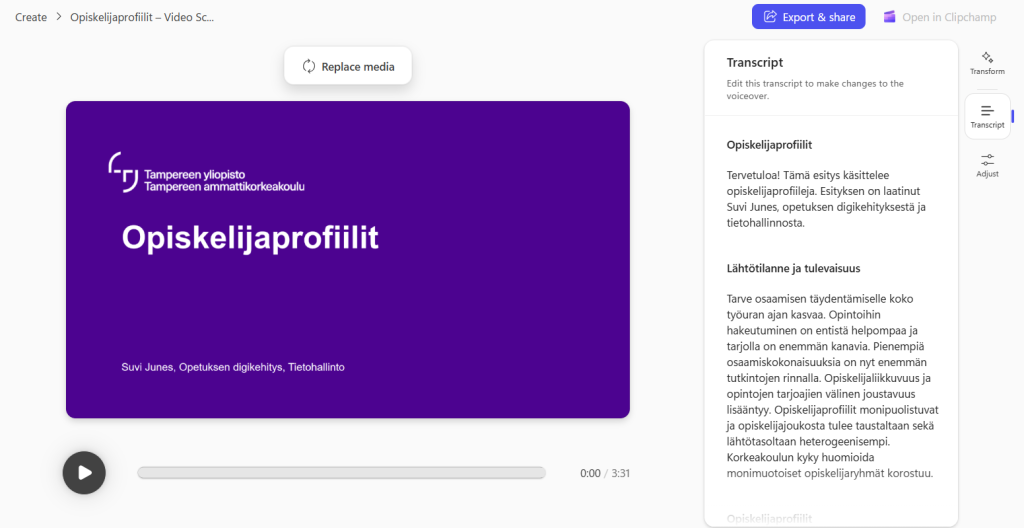
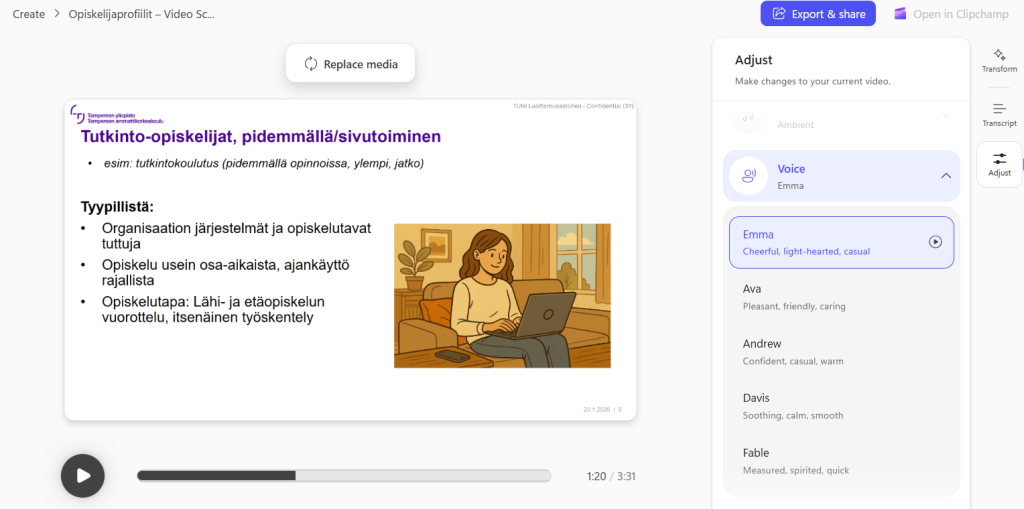
From the same place, you can also edit the video’s appearance and sound. You can choose the background music or speaker’s voice you want for the video.
When you are happy with the video, click Export and Share at the top, and you can download the video and share it with viewers via a link.
Read more