
Microsoft 365 Bookings allows you to easily manage and share various booking pages. The interface is familiar from companies’ booking sites, where you can book a service from the company’s pages and choose the preferred time from calender. This type of booking page can be useful also in a higher education context, for example, for booking guidance times and counseling services. It can be used as a shared booking page for a group or multiple people, where the availability of individuals’ calendars determines the available times. This tip will guide you through the basics of using Bookings and show you how to effectively utilize a shared booking page.
What do I need?
Bookings are available in the M365 service. Choose Bookings among the applications.
What do I need to do?
On the Bookings service homepage, you have two options for creating a booking calendar:
- Personal Booking Page: In these calendars, the booker reserves time only for you.
- Shared Booking Page: In this calendar, you can create booking pages with others and let your customers book time with you or your team members.

Creating a Shared Booking Page
Click Create Booking Page under Shared Booking Pages. On the page that opens, you can choose whether you want to create the booking page from scratch or use a previously created booking page as a template.
Proceed step by step. You can change the choices made during the creation phase later.
1. Create a name for the booking page and specify the general booking time. Later, you can define more precise times for the appointments.
2. Next, select the people from whom appointments can be selected in this calendar.
3. Create a service, i.e., define what can be booked from the calendar. For example, a 30-minute appointment, guidance time, mentoring session, etc.
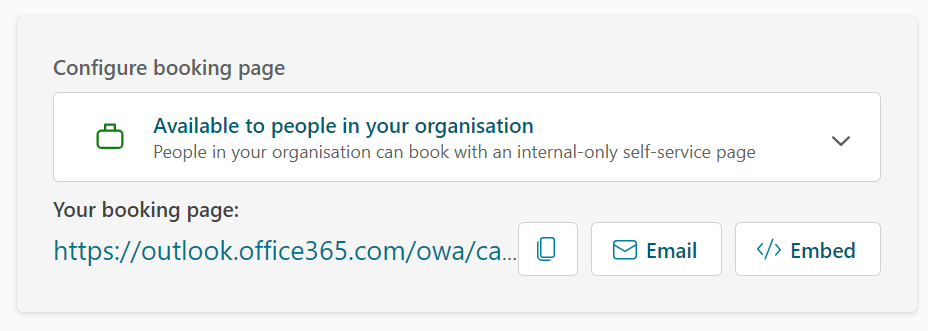
4. Finally, choose who can use the booking page. It is recommended to select All organization members, provided that people outside the organization do not need to make bookings.
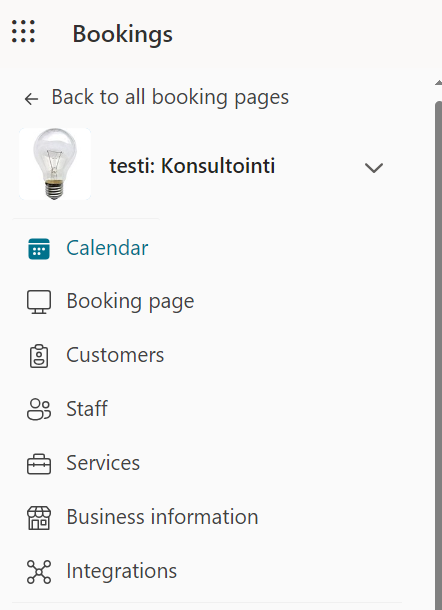
Editing the Booking Page
After going through all the steps, you access the management view of the booking page you created. Your booking pages also appears on the Bookings homepage under the Shared Booking Pages heading, and you can click the booking page to edit it again.
On the left side of the management view of the booking page, you see the phases and can edit them again if you wish. From the Services page, you can add bookable items to the booking page, and from the Staff tab, new people from whom times can be booked.
Adding a New Service
A service refers to the items visible on the booking page that can be booked. These can be appointments based on a certain theme (guidance, consulting, counseling) or different durations for the same issue.
Choose Services from the left side of the page. Click add new service.
When defining a new service, note the tabs on the left side.
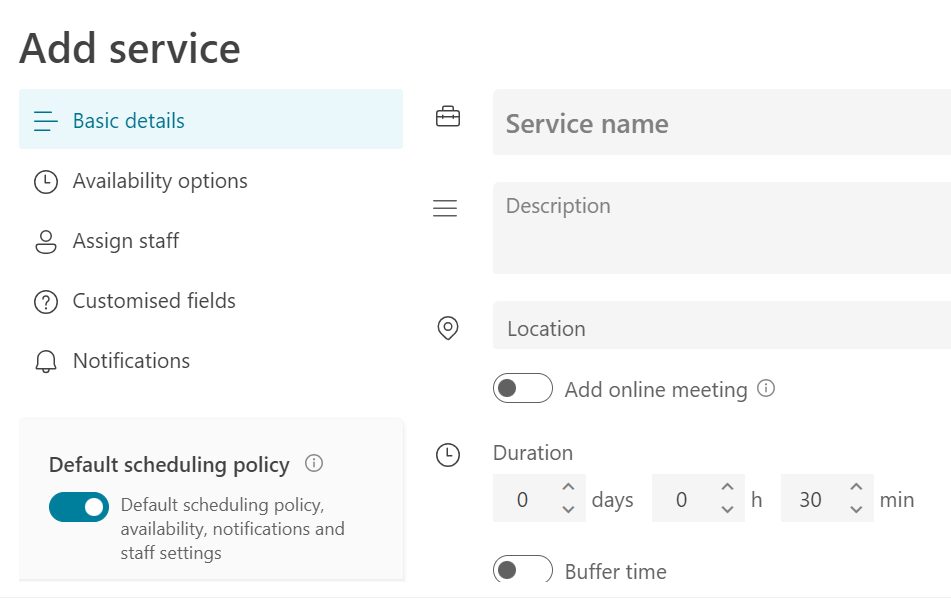
- In Basic details, you define the name of the bookable item and the meeting place/Teams meeting.
- On the Availability options, you can specify when the service is available. Typically, the service can be booked when there is free time in individuals’ electronic calendars, but on this page, you can define more precise times for the service (e.g., counseling time can be booked Mon-Wed from 10-12).
- On the Assign Staff page, you can add people whom you can book time with.
- On the Custom Fields page, you define what information is requested from the booker.
- On the Notifications page, you decide on the notifications and reminders sent for the bookings.
Sharing the Booking Page
After making and saving the changes, you can share the calendar with customers. You can find the link to your booking page from the Booking Page tab in the management view on the left side.
The service from the customers’ perspective
On the booking page, the customer sees the available services and their defined duration. By selecting a service, they see a dropdown menu at the bottom of the page listing all the people offering the service. The custoer can choose a specific person or the Anyone option. After selection, a calendar view is shown from which the booker can choose a suitable time from the available ones. Finally, the customer is asked for contact information.
Detailed instructions: Microsoft