
You can use O365 Forms to create not only polls and surveys but also remote exams.
You have two options:
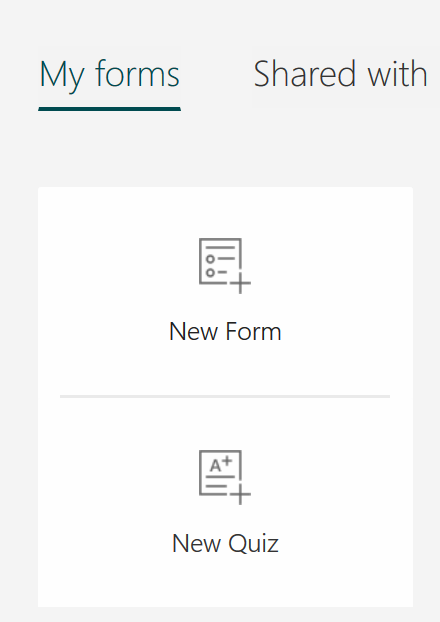
Form: Choose this option if you want to collect essays or answers from students via Forms but do not need to assess them via Forms. Read the tip.
Quiz: Choose this option if your exam questions can be automatically marked or if you want to mark assignments and publish the results to your students via Forms. Read the tip below.
What do I need to do?
Your quiz can include essay-type questions that you mark yourself or multiple-choice questions that are automatically marked by Forms. When you create a quiz-type exam with Forms, you can easily make the results available to your students via the same link after you have marked their answers. Instructions for creating a quiz with Forms:
Go to https://portal.office.com
Select Forms
Select New quiz
Click Untitled quiz to enter a name for your quiz. You can type, for example, instructions for answering the questions into the Enter a description field.
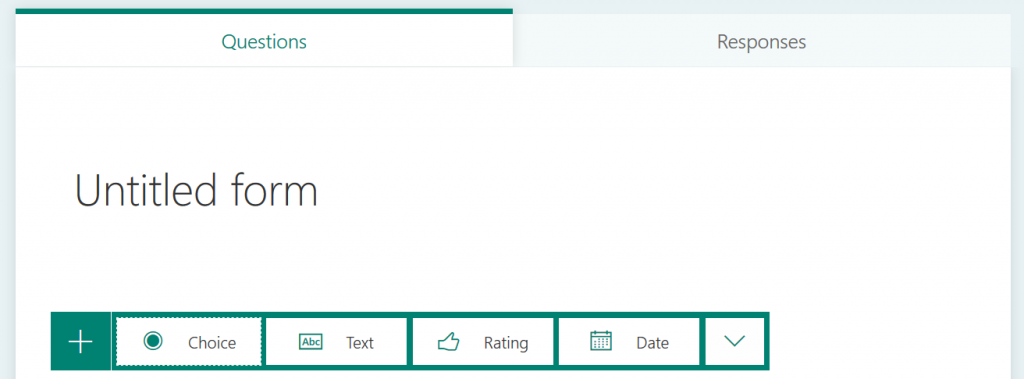
Select the question type from the Create question menu. (Click the arrow on the right side to access more options).
- Type your question. If you are creating multiple-choice questions, add the answer options and select the right ones. You must also choose whether there are multiple correct answers to your questions. Indicate how many points each question is worth.
- Add as many questions as you need (Add new). You can use the buttons on the top corner to duplicate or delete a question or change its place.
Preview and theme
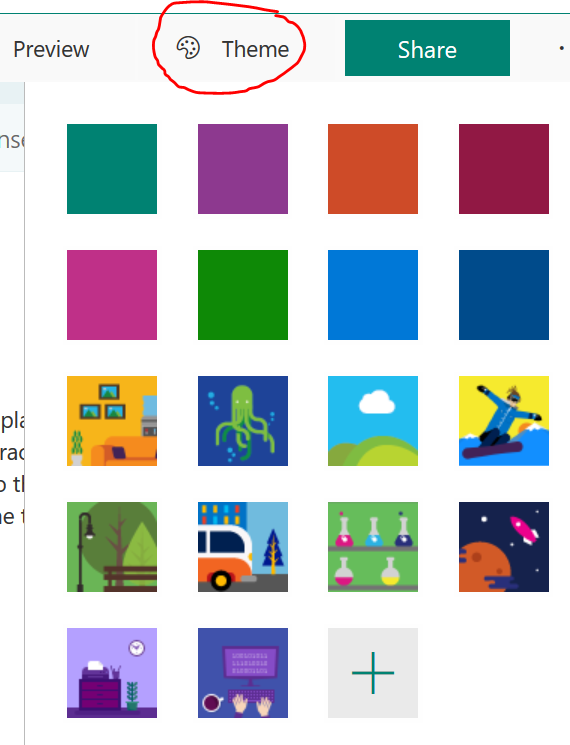
Click Preview at the top right corner to see how your quiz will look to your students. Click Theme to select a theme for your quiz (colour, background, etc.)
Quiz settings:
Before publishing your quiz, click on the three dots on the top right corner to access the quiz settings. You can change the settings to customise your quiz. Go over all the options carefully.
If your quiz is automatically marked, do you want the system to show students the correct answers after they have taken your quiz? Do not select this option if students will take your quiz at different times and you do not want to reveal the correct answers.
Select whether students will need to sign in with their TUNI username and password (their names will be stored in the system) or whether they will be able to access the quiz simply by clicking on a link (then they must be asked to provide their names at the beginning of the quiz).
You can also set a time limit for completing the quiz.
Publish your quiz:
Click Share and choose how you would like to share your quiz with students.
- If you select the option Only people in my organization can respond, the system will store the quiz takers’ names. This option is recommended if your quiz takers have a TUNI user account.
- If you select Anyone with a link can respond, anyone who knows the link will be able to access your quiz. Please note: If you select this option, you must ask quiz takers to provide their names at the beginning of the quiz.
Copy the link and share if to your students, for example, by email or paste it to your Moodle course page. Click the envelope icon, and a new email including the quiz link will open in your default email application.
There is also a link at the bottom of the page that you can send to others who will mark the quiz (Share to collaborate).

Marking:
After students have taken your quiz, go to the Responses tab. You can view student responses as a summary or individually.
If your questions are automatically marked (meaning that you have indicated the correct answers to multiple-choice question), you will be able to see your students’ scores. You can change the points and provide feedback.
If you allowed students to see their results immediately, they will already know how they did on the quiz. If you did not choose this setting or the questions were not automatically marked, you can send your students their results after you have marked their answers.
Select all students or individual students and click Post scores.
Posting scores will give respondents access to view feedback and the results of their quiz. They can view their results using the same link that they used to launch the quiz.
Remind your students of the following:
When students are completing a Forms quiz their unfinished responses will not be saved at regular intervals. Students should first type their responses in Word and copy them to the text field in Forms.
If a quiz has a time limit, students must keep track of the amount of time they have left. Submissions for the quiz will not be accepted after the time limit expires, and students will not be able to retake the quiz afterwards.
What should I take into account?
If you set a short time limit for your Forms quiz (for example: all students must take your quiz between 12:00 and 13:00 on the same day), you should add an extra 30-minutes to the time limit you tell your students, because there may be students who submit their responses a couple of minutes too late. On the Responses tab, you will see the time that each student spent completing the quiz.
In the quiz settings, you can select Shuffle question order to randomize the order of the questions and prevent students from working together via instant messaging apps.
To be on the safe side, ask quiz takers to provide their given name(s), family name, email address and student number. This will make is easier to make the necessary entries in their academic record.
The maximum length of an essay-type question is 4,000 characters (about 500 words, or 1 page with a spacing of 1); you can work around this limit by adding multiple text boxes or allowing quiz takers to attach files. Alltogether quiz allows maximum of 200 000 characters (about 25000 words and 50 pages, line space 1)
Only certain file formats are allowed: Word, Excel, PPT, PDF, Image, Video, Audio.
The quiz will work well even with a slower internet connection if it does not include multiple sections (pages) but has all the questions on a single page.
Read more:
Use this link to duplicate the template to create your own quiz.
Microsoft: Create a quiz with Forms