
Copilot Chat is an AI-based conversational tool that helps you with various tasks such as text generation and processing. Copilot Chat uses internet content or provided source material to generate responses. With Copilot, you can also create your own AI assistants. Agents are Copilot chat windows with predefined instructions for generating responses. A agent answers questions based only on the instructions and using predefined sources, such as a provided website.
An agent can also be given a role to respond to chat questions accordingly. You can use agents in your work or create an agent to share with others. For example, you could build a translation agent programmed to translate all texts in the chat in a consistent style and structure. Agent specialised in spesific contents could be programmed to use only a specific website’s content to provide answers. A meeting agent could create a consistent meeting summary from your meeting transcript. With agents, Copilot knows the instruction prompt in advance, so you don’t have to instruct it each time.
You can also share agents with other users. An agent instructed to answer based on learning material can help students understand the content and an agent instructed to act as a quiz bot could help students test their knowledge based on the material. An agent trained to respond in a certain way can also act as a tutor.
What do I need?
Copilot Chat is available for free to staff and students (18+) of the Tampere University community at microsoft365.com/chat. Remember to log in with your TUNI account, otherwise, you will use a less secure free version!
What do I need to do?
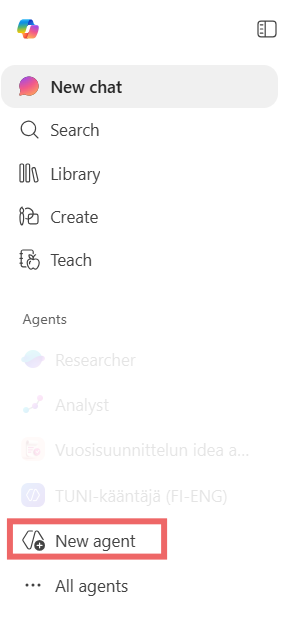
Go to Copilot Chat and see the bar on the left. The list shows the agents you have created before and the “New Agent” button below them.
Describe and configure agent:
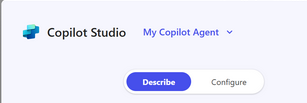
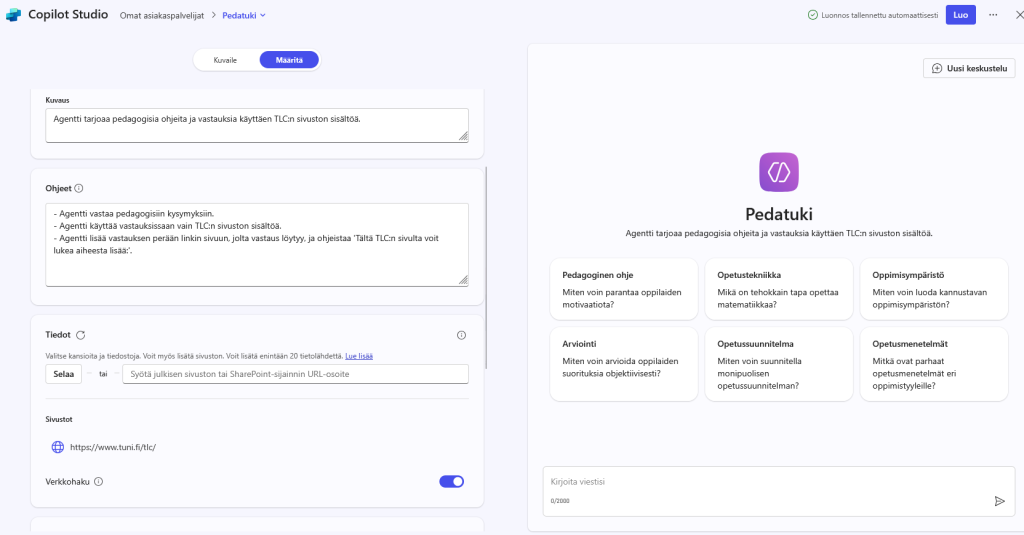
On the page that opens, you will see the “Describe” and “Configure” tabs. Through these pages, you can define the agent’s name, the source material it uses to respond, the format of the response, and how the agent addresses the user. In Describe tab you use natural languge to describe the agent and fill the describtion in one field. In Configure page you can give the same information in dedicated fields. In other words, you can use either view to define the chat.
Be precise in giving instructions for the agent’s definition. You can specify the structure, length, and format of the response. You can also provide an example of how the response should be produced. Additionally, you can instruct the agent on the style and language of the response.
Sources:
On the “Configure” tab, you can also add sources to the agent. This way agent answers questions only based on the websites or files you give to it. Note that if you do not have a paid Microsoft 365 Copilot license, you cannot upload files as sources. In this case, you can enter up to 4 external web pages as sources to knowledge field. If you have a paid Microsoft 365 Copilot license, you can also enter files or up to 20 web addresses as sources, but all users of such an agent must have a paid license too.
Creating starting prompts:
On the Configure page, you can also create suggestion prompts visible on the agent’s home page. These can serve as example questions for users or as a list of frequently asked questions for yourself.
Test your agent:
On the Describe and Configure tabs, you can also test the agent’s operation and correct and supplement the instructions based on the test. The test window is visible on the right side of the page. You can write a test question in the text field below and see how the agent works.
Publishing:
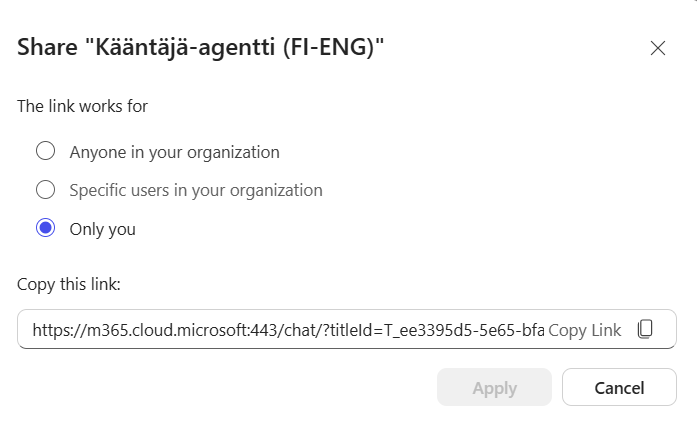
When you are satisfied with the agent’s operation, click the “Create” button in the upper right corner. Agent is created and you can see the link. By default agent is only shared with you, but you can change it to be visible also to spesific users in your organisation or to all users in your organisation.
Editing and Sharing Agents:
You can see the agents you have created as a list on the right side of the Copilot home page. By clicking on the agent’s name, you can use it.
If you want to edit or change the sharing settings later, click on the “all Agents”. On the page that opens, you will see all the agents you have created and from the menu beside each agent you can edit them.

What do I have to take into account?
- If you do not have the paid Microsoft 365 and are using the free Copilot Chat available to everyone, you can only use public websites as data sources for agents. The website provided as knowledge must be discoverable through the Microsoft Bing search engine, and its URL can be at most two levels deep, for example:
https://tuni.fi/level-1/level-2/. - If you have the paid Microsoft 365 Copilot, you can use your own files as data sources. Keep in mind, however, that if you share such an agent, other users must also have a paid Microsoft 365 Copilot license; otherwise, the agent will not work for them.
- You can create an agent for your personal use or share it with individual users or TUNI users who know the sharing link.
- The agent cannot be shared for editing by colleagues or for joint use. However, you can always share the prompt and other description details of the agent you built, so others can create a similar agent themselves.
Read More:
All AI tips in Digital toolkit
Tip updated 05/2026