How on Earth could I create a meaningful learning environment that has interactivity and has modern day accessibility e.g. works on mobile? Audio would be a wonderful addition and beautiful visual effects never harm anyone. Maybe the correct question would be where can I create the environment? Or is it just a utopia?
No, utopia it is not, since you have a possibility to use ThingLink. ThingLink is a web-based pioneer of interactive image and video technology. With ThingLink you can easily create visual and auditive learning materials for student-centered learning. Students will be encouraged to work on projects and assignments in a different way – a modern way. Please note, that this tip only applies to the free version of ThingLink.
What do I need?
You need a computer and material of your choosing for the base of your ThingLink (e.g. image or video).
What should I do?
If ThingLink is a new acquittance, please check out first this video. From the video you’ll get the idea of what you can accomplish with ThingLink. Of course, you can also watch some of these YouTube videos as well.
Please visit address thinglink.com. Log in or create an account from the right-hand corner. When you log in for the first time ThingLink kindly asks you to watch a short how-to video. (Yes, it is the same video as above; skip it, if you watched it already). Afterwards, you’ll get to the start view.

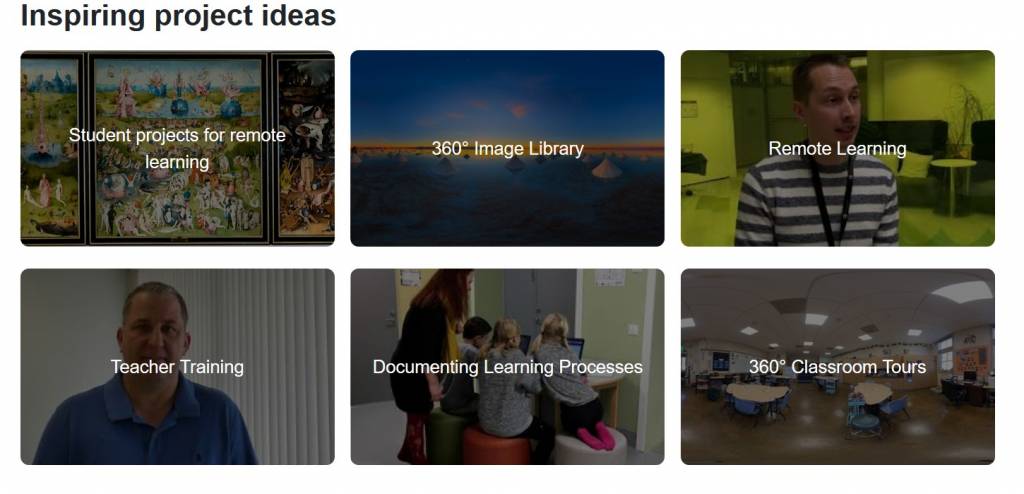
At the top page you can see Create-button and from there you can begin your journey into the world of your own ThingLink. Please note you have also the option to use ready-made ThingLink images and videos. These are shown at the start page (Welcome tab). But hit Create and roll up your sleeves!

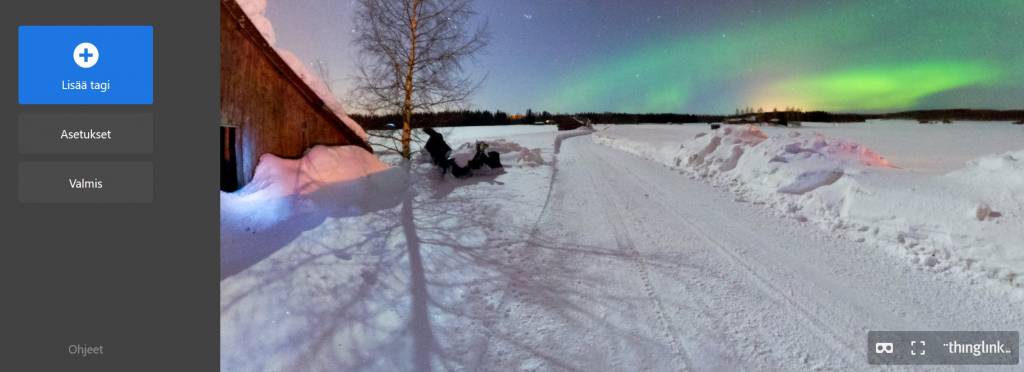
From the Add tag -button you can add all kinds of tags (incl. text, media, links or other ThingLinks) ja and customize your tags. From the Settings you’ll be able to change your ThingLink’s color scheme, add voice and animate tags. In a simpler way: just check out all the possibilities you have, so click the buttons and choose the effects you like. Remember that you can always later edit your choices.

When you have added enough tags and your ThingLink is ready, click Done and get a preview of your ThingLink. Your ThingLink you can close from little cross in the right-hand corner and it will show on your My Media tab. Please click your ThingLink once more, since now you’ll see in the right corner icons: Publish, Edit (pencil) and Settings (cogwheel). From Settings you can change your ThingLink’s privacy settings. NB! ThingLinks are by default public.
What should I consider?
Since there are many options and variations you can perform in ThingLink, so take time when doing your first ThingLink.
For the time being it is free to join ThingLink, but from the charged version you’ll be able to access more options. Because ThingLink is provided by a third-party, it can be that now free functions may change over time. Please do not share any valuable information on ThingLink, only information that does no harm when published. Please note also that before starting to use ThingLink you should read the Terms of use and responsibility of the right usage is on the end user. Consider carefully also what information you give of yourself to the service. Please acknowledge also all the regulations and guide lines about the usage of cloud services of your own organization.
Find more information:
There’s a lot of material about ThingLink. On their official site you can learn more about different ways of using ThingLink in education, e.g. you can intergrate your material to OneNote and Teams.
Here you can find a ThingLink in action, made by Lianne Petrocelli and get few ideas to your own ThingLink. Have a great linking time!
