
Generally, the shared OneNote of your class (Class Notebook) comprises a content library created by the teacher, a collaboration space and student notebooks. What if you, as the teacher, want to make some course materials visible to yourself only? Then you can create a teacher-only section group. Turn on the teacher-only section group in your Class Notebook to keep materials private to you and your co-teachers.
What do I need?
You need a Class Notebook and teacher-only content.
What do I need to do?
To enable the teacher-only section group in your Class Notebook, go to the Office 365 app launcher, select Class Notebook > Manage notebooks. Here you can enable the teacher-only section and find other useful features (which are used, for example, to share a link to the notebook and manage user rights).
The teacher-only section is conveniently located next to the content library and collaboration space. Remember to be careful when adding materials to the different sections so that you do not accidentally add private content to an open section.
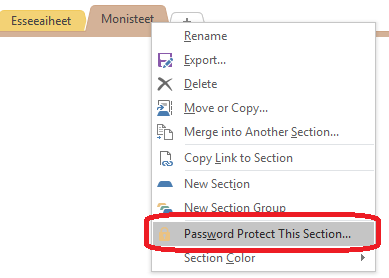
If you have co-teachers, they will also be able to access the teacher-only section. You can password-protect subpages by right-clicking on the name of a subpage.
What should I take into account?
You can add, for example, assessment guidelines, lesson plans and courses materials that you will share with students later to the teacher-only section. Read this tip to learn more about sharing materials with your students in Class Notebook.
Read more:
Did you know you can lock the collaboration space in Class Notebook, for example, after a deadline has passed?
If you want to maximise the potential of Class Notebook, read the tip about writing in OneNote.